
Char-Broil Gas Grill Manual: A Comprehensive Guide (Updated February 27, 2026)
Welcome! This manual provides detailed instructions for Char-Broil gas grills, covering assembly, operation, maintenance, and troubleshooting – updated as of today’s date.
Char-Broil has been a leading innovator in the grilling industry since 1996, consistently delivering quality and performance to outdoor cooks. From classic gas grills to advanced Tru-Infrared™ models, Char-Broil offers a diverse range to suit every grilling style and budget.
This guide is designed to help you maximize your grilling experience with your Char-Broil gas grill. Whether you’re a seasoned pitmaster or a beginner, understanding your grill’s features and following the provided instructions will ensure safe, efficient, and delicious results. Explore various models, including two-burner and four-burner options, and discover how Char-Broil stacks up against competitors like Weber.
Understanding Your Char-Broil Grill Model
Char-Broil offers a wide array of gas grill models, each with unique features and specifications. Familiarizing yourself with your specific model is crucial for optimal performance and safety; This includes understanding the layout of burners, the type of cooking grates, and the functionality of the ignition system.
Whether you own a Tru-Infrared or conventional model, knowing its components – like heat tents and the grease management system – will enhance your grilling experience. Comparing your model to others, such as the Weber Spirit E-210, can highlight its strengths and help you utilize its features effectively.
Locating the Model Number
Identifying your Char-Broil grill’s model number is essential for ordering replacement parts, accessing specific documentation, and receiving accurate customer support. The model number is typically found on a label affixed to the grill. GrillPartsReplacement indicates this label is usually located in a visible position on the grill’s body.

This number allows you to narrow down parts listings on websites like grillparts.com, ensuring compatibility. Knowing your model also helps when comparing features with other grills, like those reviewed in April 2024, and understanding your grill’s specific warranty information.
Identifying the Model Number Label
According to GrillPartsReplacement, the model number label on Char-Broil gas grills is strategically placed for easy visibility. Typically, you’ll find it positioned below the primary grilling surface, often on the side or back panel of the unit. Look for a rectangular or square label displaying a series of numbers and/or letters.
Ensure the grill is turned off and cool before attempting to locate the label. The label may be silver, black, or white, and securely attached. Having this number readily available streamlines the process of finding compatible parts on sites like grillparts.com, established since 1996.
Safety Precautions
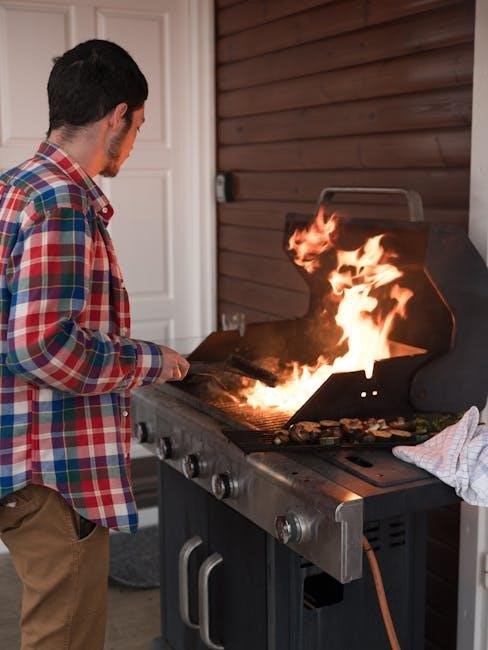
Prioritizing safety is paramount when operating your Char-Broil gas grill. Always inspect gas connections for leaks before each use, utilizing a soapy water solution to detect bubbles – indicating a potential issue. Ensure adequate ventilation; never operate the grill indoors or in enclosed spaces.
Maintain a clear area around the grill, free from flammable materials. Never leave a lit grill unattended. Keep children and pets at a safe distance. Follow all manufacturer’s instructions diligently to prevent fires or injuries. Proper grill maintenance and responsible operation are crucial for a safe grilling experience.
Gas Leak Detection
Before each use, meticulously check for gas leaks to ensure safe operation. Prepare a solution of soapy water – a mixture of liquid dish soap and water. Apply this solution to all gas connections, including the regulator, hose, and connections at the grill and propane tank.
Turn the grill’s gas supply on (without lighting the burners). Watch closely for bubbles forming at any connection point. Bubbles indicate a gas leak. If a leak is detected, immediately turn off the gas supply and address the issue before attempting to use the grill. Do not use the grill if leaks persist.
Proper Ventilation
Always operate your Char-Broil gas grill outdoors in a well-ventilated area. Never use it inside a garage, shed, or any enclosed space. Gas grills produce carbon monoxide, a deadly, odorless, and colorless gas. Adequate ventilation is crucial to prevent carbon monoxide buildup.
Ensure there’s ample space around the grill – at least three feet on all sides – free from combustible materials like wood, dry leaves, or flammable liquids. Avoid operating the grill under overhead obstructions or near anything that could restrict airflow. Prioritize safety by maintaining proper ventilation.
Safe Grilling Practices
Never leave a lit grill unattended. Keep children and pets a safe distance away from the grilling area. Use long-handled grilling tools to avoid burns and maintain control. When lighting the grill, follow the manufacturer’s instructions precisely, ensuring all burners are lit correctly.
Avoid wearing loose clothing while grilling. Have a fire extinguisher or baking soda readily available in case of flare-ups. Do not attempt to move a lit grill. Always allow the grill to cool completely before cleaning or covering it. Prioritize safety for enjoyable grilling experiences.
Assembly Instructions (General)
Before beginning assembly, carefully unpack all components and verify against the parts list. Use a clean, flat surface to protect the grill’s finish. Follow the step-by-step instructions included with your specific model, paying close attention to diagrams. Ensure all bolts and screws are tightened securely, but avoid over-tightening.
Proper assembly is crucial for safe and efficient operation. If you encounter difficulties, refer to the troubleshooting section or contact Char-Broil customer support. Double-check all connections, especially those related to the gas line, before initial use. A well-assembled grill ensures years of grilling enjoyment.
Component Overview
Your Char-Broil gas grill consists of several key components working in harmony. Burners provide the heat source, distributing flames across the cooking surface. Cooking grates, available in various materials, hold your food. Heat tents/flavorizer bars vaporize drippings, adding flavor and preventing flare-ups.
The ignition system initiates the burners, while the gas valve regulates gas flow. Understanding each component’s function is vital for proper operation and maintenance. Regular inspection and cleaning of these parts will maximize your grill’s performance and longevity, ensuring delicious results.
Burners and Heat Distribution
Char-Broil burners are designed for even heat distribution across the grill surface. Stainless steel burners offer durability and consistent performance. Burner tubes feature ports that release flames, while the arrangement ensures comprehensive coverage. Proper burner function is crucial for consistent cooking results.
Ensure burners are clean and free of obstructions for optimal heat output. Heat distribution can be adjusted by controlling burner knobs. Consistent flame patterns indicate proper operation; uneven flames suggest cleaning or maintenance is needed. Regular checks maintain grilling efficiency.
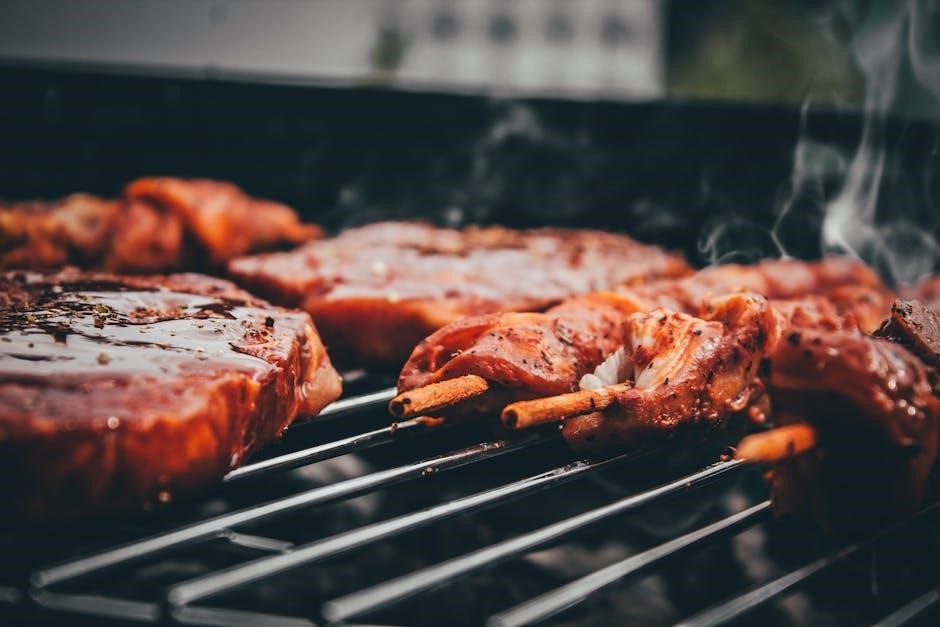
Cooking Grates – Types and Care
Char-Broil grills utilize various cooking grate materials, including cast iron, stainless steel, and porcelain-coated options. Cast iron grates retain heat exceptionally well, ideal for searing, but require seasoning. Stainless steel offers durability and ease of cleaning. Porcelain-coated grates resist rust and are relatively low-maintenance.
Regular cleaning is vital for grate longevity. After each use, brush grates to remove food residue. Periodically, deep clean with a grill brush and warm, soapy water. Avoid abrasive cleaners that can damage the coating. Proper care ensures optimal cooking performance and extends grate lifespan.
Heat Tents/Flavorizer Bars
Char-Broil grills often feature heat tents, also known as flavorizer bars, positioned above the burners. These components serve a crucial role in vaporizing drippings, creating flavorful smoke that enhances food. They also distribute heat more evenly across the cooking surface, preventing hotspots.
Regular inspection and cleaning of heat tents are essential. Remove and scrape off accumulated grease and debris periodically. Replace damaged or heavily corroded heat tents to maintain optimal performance. Proper maintenance ensures flavorful grilling and extends the lifespan of your grill components.
Ignition System
Char-Broil grills utilize various ignition systems, commonly including electronic igniters or piezo igniters. The electronic igniter uses a battery to create a spark, while the piezo igniter generates a spark through mechanical pressure. Ensure the igniter is clean and dry for optimal performance.
If the grill fails to light, check the battery (for electronic igniters) or ensure the igniter button is pressed firmly. Inspect the wires connecting to the igniter for damage. Clean the burner ports to ensure gas flow. A properly functioning ignition system is vital for safe and convenient grilling.
Operating Instructions
Before first use, perform a “burn-off” to eliminate any manufacturing residues. Open the lid and ignite all burners on high for 15-20 minutes. This process may produce some smoke and odor, so ensure adequate ventilation.
To light the grill, follow the specific instructions for your model’s ignition system. Once lit, adjust the burner control knobs to achieve the desired temperature. Monitor the grill’s thermometer for accurate readings. Remember to preheat the grill before cooking for optimal results and even heat distribution.
Initial Burn-Off Procedure
Prior to your first cookout, a crucial initial burn-off is required for all new Char-Broil gas grills. This process eliminates any residual oils or manufacturing byproducts that may affect the flavor of your food or cause unwanted odors. Simply open both the grill lid and the side shelf lid (if applicable).
Turn all burner control knobs to the “High” setting and ignite the grill. Allow the grill to run on high for approximately 15 to 20 minutes; Expect some smoke and a slight odor during this process; ensure proper ventilation.
Lighting the Grill
Before lighting, ensure the grill lid is open and all burner control knobs are in the “OFF” position. Open the propane tank valve slowly. Most Char-Broil grills feature an electronic ignition system. Press and hold the igniter button; you should hear a clicking sound and see a visible spark at the burner.
If the burner doesn’t light within 10 seconds, turn off the gas supply and wait five minutes before attempting again. Some models may require manual lighting with a long-handled lighter inserted through the lighting hole. Always carefully follow the specific instructions for your model.
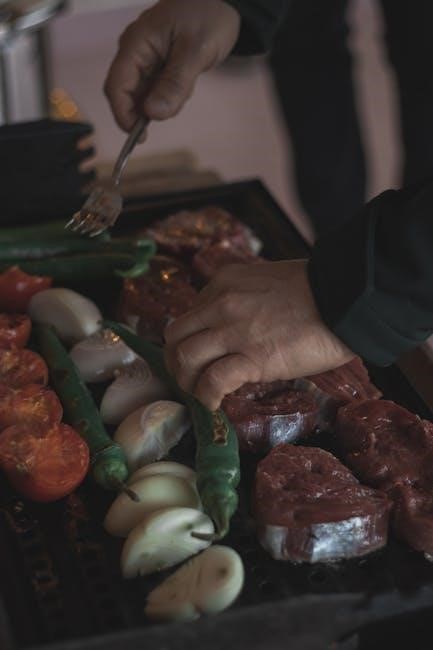
Temperature Control
Achieving desired temperatures relies on adjusting the burner control knobs. Higher settings deliver more gas, increasing heat. Start with all burners on high for preheating, then reduce to maintain the cooking temperature. Utilize the grill’s lid thermometer as a guide, but remember it measures air temperature, not the grate’s surface.
Experimentation is key to understanding your grill’s heat response. Different foods require different temperatures; lower settings are ideal for delicate items, while higher settings suit searing. Adjust burners individually for two-zone cooking, creating both direct and indirect heat areas.
Cleaning and Maintenance
Regular cleaning extends your grill’s life and ensures optimal performance. A consistent schedule prevents grease buildup and corrosion. After each use, burn off food residue by heating the grill on high for 15 minutes with the lid closed. Periodically clean burners, removing any obstructions for even flame distribution.
Cooking grates require regular attention; use a grill brush to remove debris after each use. The grease management system – drip pans and trays – should be emptied and cleaned frequently. Inspect gas lines for leaks and ensure proper ventilation during cleaning.
Regular Cleaning Schedule
After each grilling session, utilize a grill brush to clean cooking grates while still warm. Monthly, perform a more thorough cleaning: remove grates and flavorizer bars, scraping away accumulated grease and debris. Empty and wash the grease tray with warm, soapy water. Every six months, inspect the burners for clogs and clean with a wire brush or pipe cleaner.
Annually, a deep clean is recommended. Disassemble components, scrub thoroughly, and check gas connections for wear. Maintaining this schedule ensures optimal performance and extends the lifespan of your Char-Broil grill.
Burner Cleaning
Regular burner cleaning is crucial for consistent heat distribution. Begin by disconnecting the gas supply. Remove the burners according to your grill model’s instructions. Inspect burner ports for blockages caused by food residue or rust. Use a wire brush, small gauge wire, or specialized burner cleaning tool to carefully clear each port.
Avoid enlarging the ports, as this affects flame quality. Once cleaned, inspect the burners for damage and replace if necessary. Reinstall the burners securely and reconnect the gas supply, checking for leaks before use.
Grate Cleaning
Maintaining clean cooking grates ensures optimal grilling performance and food safety. After each use, brush the grates thoroughly with a grill brush to remove food particles. For deeper cleaning, remove the grates and wash them with warm, soapy water. Stubborn residue may require soaking or using a grill grate cleaner.
Avoid abrasive cleaners that can damage the grate surface. Ensure the grates are completely dry before reinstalling them on the grill. Regularly cleaning prevents flare-ups and extends the life of your cooking grates.
Grease Management System
Char-Broil grills feature a grease management system designed to collect and dispose of excess drippings, minimizing flare-ups and simplifying cleanup. Regularly empty the grease tray or cup located beneath the cooking area. A full grease tray can obstruct airflow and increase the risk of fires.
Dispose of collected grease responsibly, following local regulations. Periodically clean the grease tray with warm, soapy water to prevent buildup. Maintaining a clean grease management system is crucial for safe and efficient grilling, ensuring a pleasant cooking experience.
Troubleshooting Common Issues
Encountering problems with your Char-Broil grill? This section addresses frequent issues. If the grill won’t light, check the gas supply, igniter, and burner ports for obstructions. Uneven heating often stems from blocked burners or uneven fuel distribution – ensure burners are clean and properly aligned.
A low flame could indicate a partially clogged burner, insufficient gas pressure, or a regulator issue. Always prioritize safety; if problems persist, consult a qualified technician. Refer to the full manual for detailed diagnostic steps and safety precautions before attempting repairs.
Grill Won’t Light
Facing ignition difficulties? First, verify the propane tank is full and the valve is fully open. Next, inspect the igniter – ensure it’s clean and properly positioned near the burner. Check for obstructions in the burner ports; debris can prevent gas flow. If the igniter clicks but the burner doesn’t light, try lighting manually with a long-handled lighter.
Still no flame? Examine the gas line for kinks or damage. A faulty regulator or a blocked burner tube could also be the culprit. Always disconnect the gas supply before inspecting components.
Uneven Heating
Experiencing hot and cold spots? Uneven heating often stems from blocked burner ports or inconsistent gas flow. Thoroughly clean the burners, removing any rust, debris, or grease buildup. Ensure heat tents/flavorizer bars are correctly positioned to distribute heat evenly across the cooking surface.
Check for obstructions beneath the cooking grates. A buildup of grease can create uneven temperatures. Also, verify the burner tubes aren’t damaged or twisted, hindering proper gas distribution. Consistent cleaning and proper component placement are key to resolving this issue.
Low Flame
A weak flame indicates insufficient gas supply. First, confirm the propane tank is not empty and the valve is fully open. Inspect the regulator for damage or blockage, as this controls gas flow to the burners. A clogged burner can also cause a low flame; clean the burner ports meticulously.
Check the gas line for kinks or obstructions. If the issue persists, the igniter might be weak, hindering complete gas ignition. Ensure proper ventilation around the grill. If problems continue, consult a qualified technician for regulator or valve assessment.
Replacement Parts
Maintaining your Char-Broil grill is easy with readily available replacement parts. grillparts.com has been a trusted source since 1996, offering cooking grates, heat tents, burners, and valves. When ordering, accurately identifying your grill model is crucial for compatibility.
Distinguish between Tru-Infrared and conventional models to narrow your search. The website provides parts listings organized by model number. Regularly check for updated pricing, as listed in USD as of April 2024. Prompt replacement of worn parts ensures optimal grilling performance and longevity.
Where to Find Char-Broil Parts (grillparts.com)
grillparts.com stands as a premier online retailer specializing in Char-Broil replacement parts. Since 1996, they’ve equipped backyard chefs with components to restore their grills. The site offers a comprehensive catalog, including cooking grates, heat tents, burners, and valves, designed to revitalize your outdoor cooking experience.
Navigating the website is straightforward: locate your specific grill model to view compatible parts. They categorize listings by Tru-Infrared and conventional models for easier searching. Remember to verify pricing, currently listed in USD and last updated in April 2024, before finalizing your order.
Identifying the Correct Parts
Accurate part identification is crucial for a successful repair. Begin by locating your Char-Broil grill’s model number – typically found on a label (see section “Locating the Model Number”). Once you have this, grillparts.com allows you to narrow your search.
Utilize their model-specific diagrams to pinpoint the exact component you need. Carefully compare the part’s appearance and specifications with your existing one. If unsure, cross-reference with the grill’s manual or contact grillparts.com’s customer support for assistance. Incorrect parts can lead to further issues, so double-check before purchasing!
Char-Broil Grill Model Comparison (Gas)
Char-Broil offers a diverse range of gas grills, catering to various needs and budgets. Comparing models helps you select the best fit. Charts, last updated in April 2024, showcase options from two-burner portables to robust four-burner grills.
Consider features like BTU output, cooking area, and construction materials. Tru-Infrared™ models provide even heat distribution, while conventional models offer a more traditional grilling experience. Rossen Reports tested Char-Broil against Weber, highlighting value considerations. Explore the range to find your ideal grilling solution!
Tru-Infrared vs. Conventional Models
Char-Broil distinguishes its grills with two primary heating technologies: Tru-Infrared and conventional. Tru-Infrared™ grills utilize a radiant heat technology, employing a stainless steel emitter plate above the burners. This design ensures even heat distribution, eliminating hot spots and reducing flare-ups, resulting in juicier food.
Conventional models rely on direct heat from the burners reaching the cooking grates. While effective, they may exhibit temperature variations. Choosing between the two depends on your grilling preference – Tru-Infrared™ for consistent results, or conventional for a classic grilling experience.
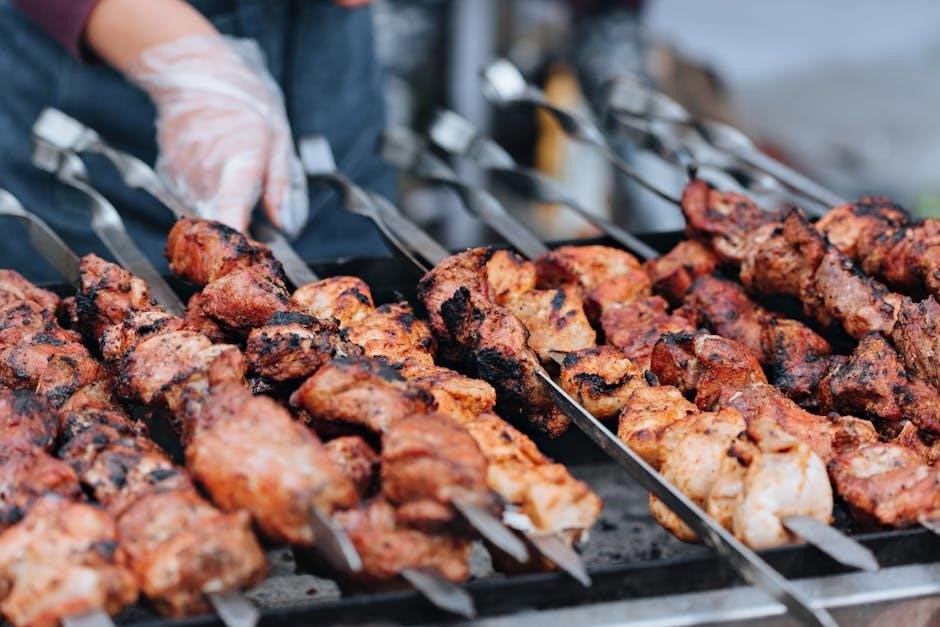
Popular Char-Broil Grill Models
Char-Broil offers a diverse range of grills to suit various needs and budgets. Four-burner models, like those tested against Weber Spirit E-210, provide ample cooking space for larger gatherings and are popular for their value. Two-burner grills are ideal for smaller families or limited patio space, offering a compact yet capable grilling solution.
The brand’s extensive lineup includes options with Tru-Infrared™ technology and conventional heating systems. Exploring different models allows you to find the perfect fit for your cooking style and outdoor entertaining preferences.
Four-Burner Grill Models
Char-Broil’s four-burner gas grills are a popular choice, offering a substantial cooking area perfect for families and those who enjoy entertaining. These models frequently appear in value comparisons, like the test against the Weber Spirit E-210, demonstrating competitive pricing.
They typically feature robust construction and provide consistent heat distribution for versatile cooking. Many include features like side burners and warming racks, enhancing functionality. These grills cater to a wide range of grilling needs, from everyday meals to larger cookouts, making them a versatile option.
Two-Burner Grill Models
Char-Broil’s two-burner gas grills represent an excellent option for smaller spaces or those seeking a more compact grilling solution. Despite their size, these models still deliver reliable performance and consistent heating, suitable for everyday cooking needs.
They are often highlighted as affordable alternatives, fitting well within a budget of under $500, as demonstrated in comparisons with Weber grills. These grills are ideal for couples or small families, offering a convenient and efficient way to enjoy grilled meals without sacrificing quality or functionality.
Grill Value Comparison (Char-Broil vs. Weber Spirit E-210)
When considering a gas grill, the Char-Broil and Weber Spirit E-210 models frequently appear as strong contenders, particularly for budget-conscious buyers. Rossen Reports conducted testing, comparing a four-burner Char-Broil against the Weber Spirit E-210 LP to assess value.
The comparison focuses on performance relative to price, with both grills offering distinct advantages. Char-Broil often presents a lower initial cost, while Weber is known for its durability and consistent quality. Ultimately, the “best” value depends on individual grilling needs and priorities.
Hybrid and Portable Grill Options
Char-Broil extends beyond traditional gas grills, offering versatile hybrid and portable models to suit diverse cooking scenarios. Hybrid grills combine gas and charcoal capabilities, providing the convenience of gas with the smoky flavor of charcoal.
For those seeking ultimate portability, Char-Broil’s portable grills are ideal for camping, tailgating, or small patios. These compact units deliver reliable grilling performance wherever you go. The complete guide to Char-Broil grills showcases these options, catering to every outdoor cook’s needs.
Warranty Information
Char-Broil stands behind its products with comprehensive warranty coverage, offering peace of mind to customers. Warranty periods vary depending on the specific grill model and components. Generally, the main burner and cooking box are covered for extended periods, while components like burners and heat tents have shorter coverage durations.
To understand your grill’s specific warranty details, refer to the warranty card included with your purchase or visit the Char-Broil website. Proper registration of your grill is crucial to validate your warranty claims. Maintaining your grill according to the manual’s guidelines is also essential.
Contacting Char-Broil Customer Support
Need assistance? Char-Broil offers multiple channels for customer support, ensuring you can easily get help with your grill. For quick answers to frequently asked questions, explore the comprehensive support section on the official Char-Broil website. Alternatively, you can reach their dedicated customer service team via phone during business hours.
Email support is also available for less urgent inquiries, allowing you to describe your issue in detail. When contacting support, have your grill’s model number and purchase date readily available to expedite the process. Visit their website for specific contact details and hours of operation.